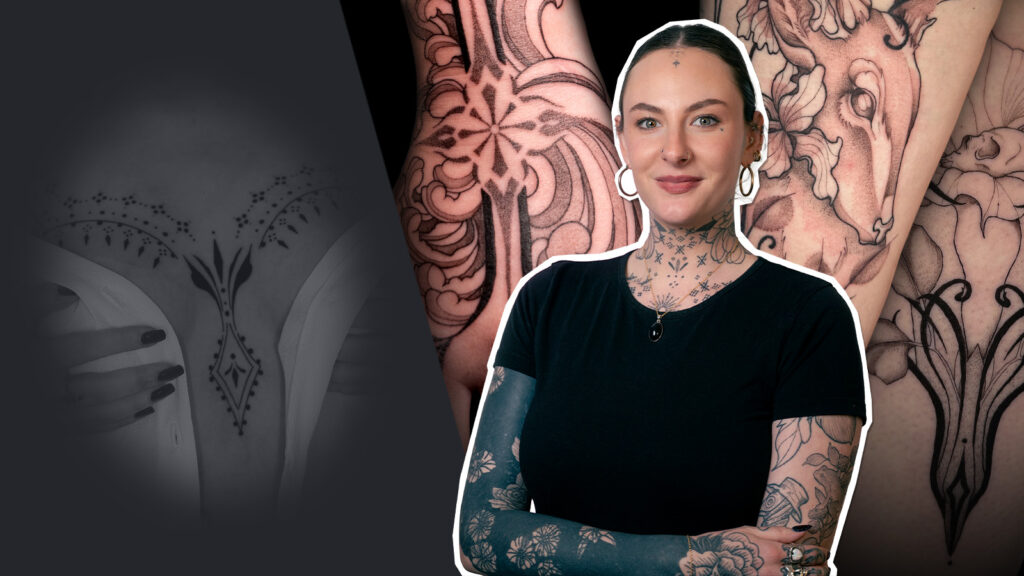
We sat down with Alisia Harker, co-owner of Mischief Tattoo Studio and sponsored artist at Killer Ink, to watch her create a stunning ornamental tattoo.
So, if you’re looking to develop the skills needed to create an ornamental-style tattoo, this tutorial is a must-see. Alisia breaks the process down step by step, from lining and shading to filling and dot work, showing exactly how to turn intricate patterns into a flawless, flowing design.
See the full video below!
What Is An Ornamental Tattoo?
An ornamental tattoo is a style of tattooing with designs featuring decorative and intricate patterns and shapes and focusing primarily on lining, shading, and dotwork techniques.
Alisia shares her journey into ornamental work, explaining how she began with engraving during her apprenticeship, and encourages newer artists to embrace the natural evolution of their tattoo style.
Artist Tips For Creating A Fine Line Ornamental Tattoo
Alisia shares her top tips for creating her ornamental tattoo, including:
- Lower your machine voltage for better control and line consistency
- Start with dotwork while stencil is fresh to make blending smoother later
- Stippling using three greywashes for added depth and dimension
- Shade section by section and adjust pressure as they join together for smoother transitions
Fine Line Tattoo Set-Up
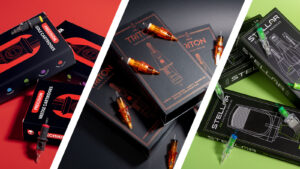
- Machine: Alisia uses the Bishop Wand Packer 4.2mm which is ideal for creating bold lines used in fine line and ornamental tattoo designs.
- Inks: Alisia recommends Dynamic Black Ink for lining, Fusion Medium, Dark, and Extra Dark Greywash for shading, and Panthera XXX Tribal for filling.
- Cartridges: To create different line thicknesses, Alisia uses a mix of Emalla and Bishop Da Vinci cartridges.
Product Highlights
Take a look at the tattoo supplies Alisia used to create her ornamental tattoo:
Produkter